
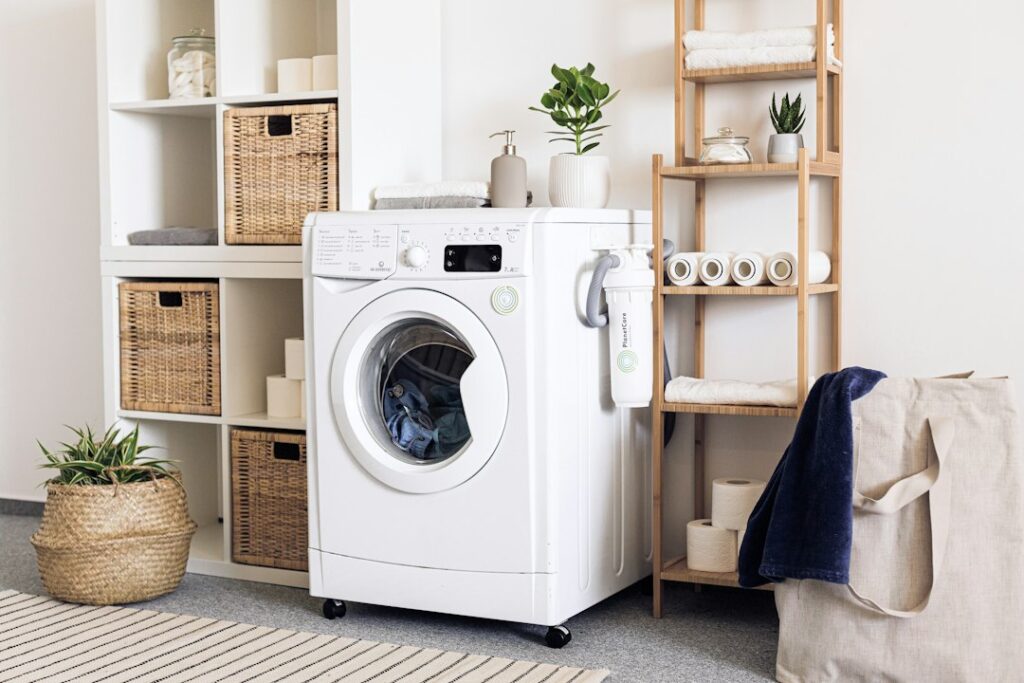

Start with the safety instructions, even if the apparent fault is only a blocked drain. Remove the plug from the socket before opening covers or handling internal wiring, and close the water taps. A hot cycle may leave the drum, heater, and nearby metal parts hot enough to cause injury, so allow them to cool. If water remains inside, the door lock may stay engaged by design. Do not force the handle. Use the manual’s approved drain procedure, and place a shallow tray and towels beneath the filter because residual water usually escapes faster than expected.
The exploded parts drawing is a useful second stop. It shows the relationship between cabinet panels, clips, hoses, seals, fasteners, and assemblies that may look confusing inside the machine. Match the illustration with the parts list before ordering anything. A pump with a similar appearance may have different connectors or mounting points. Take clear photographs of each connector before unplugging it, including the wire colors and routing. Keep screws from each panel in a separate cup or labeled bag. That small habit prevents a long search for one short screw when reassembly begins.
Wiring diagrams become more manageable when read as circuit maps rather than as pictures of the appliance. Lines indicate electrical paths, component symbols identify items such as valves, pumps, heaters, and motors, and connector numbers show where a circuit enters or leaves the control board. The manual may include an abbreviation key, so check it before interpreting a symbol. If a drain pump stays silent, do not assume the pump itself has failed. A clogged filter, obstructed hose, loose terminal, broken wire, or missing control signal can produce the same symptom. Trace the specified circuit before buying a replacement part.
A fault code narrows the search but rarely names the failed component with certainty. A draining code can relate to restricted flow, a kinked outlet hose, debris around the filter, a pump fault, or a water level signal that is not changing as expected. Follow the inspection order printed in the manual rather than clearing the code repeatedly. The pressure switch, for example, senses water level through air pressure in a small hose. Detergent residue, moisture, or a blocked hose can distort that reading. On a washer that fills and then stops, inspect the hose and its connections as well as the pump.
Some manuals provide a service or diagnostic mode that activates individual functions under controlled conditions. The button sequence differs between models, and the procedure may include warnings about an unlocked door, standing water, or live components. Use only the instructions for the identified appliance. A test can operate an inlet valve, motor, heater, pump, or door lock separately, which helps distinguish a control issue from a component issue. If an error appears only during fast spinning, the manual may direct checks of load balance, suspension, motor feedback, or the speed sensor. That sensor reports rotational speed to the control system.
A multimeter can check continuity and resistance, but a reading is meaningful only when the test method matches the manual. Continuity indicates a complete path for the meter’s small test current, while resistance is measured in ohms. With the plug removed, these checks can help locate an open fuse, broken wire, or disconnected circuit. Test heaters, pumps, and sensors only at the stated terminals and under the stated conditions. Never probe live voltage unless you have suitable training and equipment. Before blaming a component, press the probes firmly onto clean contacts and confirm that the meter is set to the correct range.
Suppose the drum turns slowly in one direction but will not reach a proper spin. The troubleshooting sequence may call for inspection of the belt, motor plugs, door lock, carbon brushes if fitted, and speed feedback circuit. The belt transfers motor movement to the drum, while feedback allows the control board to monitor rotation. A loose plug can resemble a failed motor, and a worn belt may slip without breaking. Record each finding beside the date and programme stage, rather than relying on memory. For reference material, a washing machine service manual collection may help locate documentation, but the rating plate must still be checked against the document.
Clear part drawings also make a conversation with a repair technician more productive. Report the exact code, the point in the cycle where the washer stops, whether the drum contains water, and what happened immediately beforehand. Mention specific checks, such as a clean filter, an unobstructed hose, or a secure connector. A technician can then focus on the remaining possibilities instead of repeating basic inspections. For a visual aid, washer fault diagrams may help identify component locations. The model manual remains the reference for electrical tests, safety warnings, torque details, and the correct order for putting the panels and seals back.